Dell portable monitor users often ask how to connect portable monitor to laptop. This simple guide helps beginners plug in a Dell portable monitor easily and optimize settings.
Why Use a Dell Portable Monitor with Your Laptop?
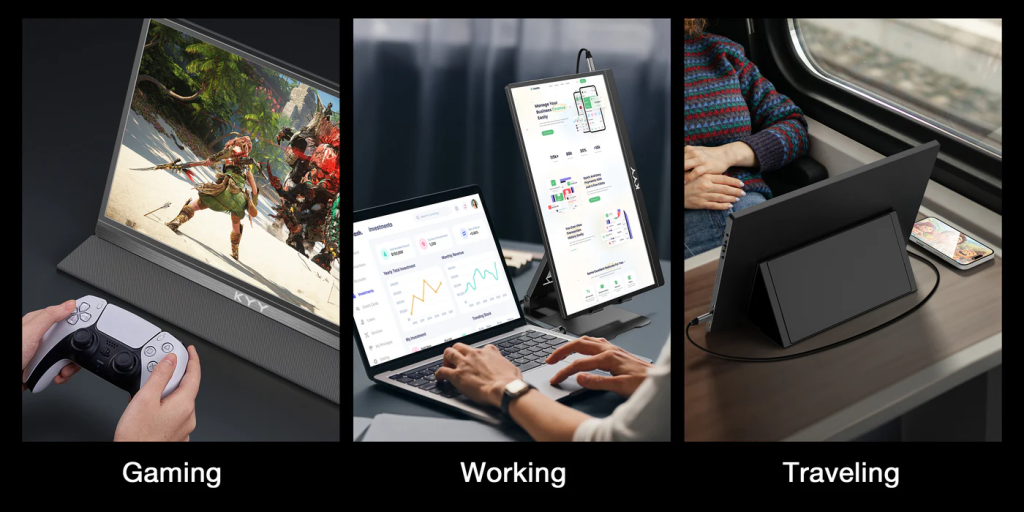
Adding a portable monitor for laptops increases screen space for work, gaming, travel, or study. Many best portable monitor lists include models like Dell Pro 14 Plus with USB‑C and power delivery, so you can run your laptop and monitor from one cable.
1. Identify Your Laptop and Dell Portable Monitor Ports
Check your laptop port: USB‑C (DisplayPort Alt‑Mode or Thunderbolt), HDMI, or older VGA/DisplayPort. The Dell P1424H portable monitor uses two USB‑C ports, supports video via DisplayPort Alt‑Mode, and delivers up to 65 W power delivery . Other Dell models like the C1422H also only support USB‑C connections .

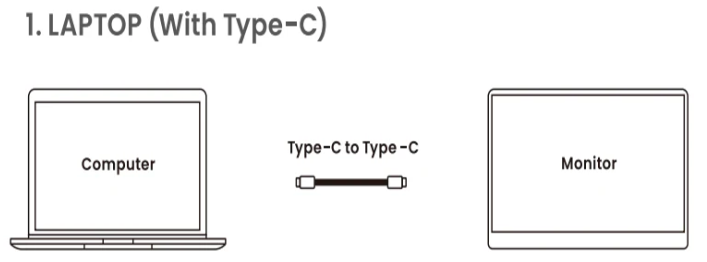
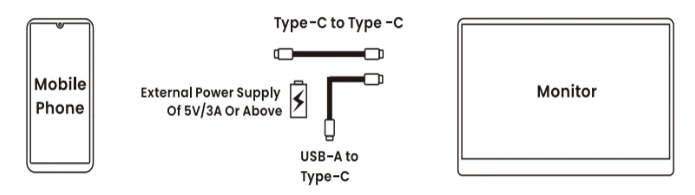
2. Choose the Right Cable or Adapter
- If you have USB‑C with Alt‑Mode on both devices, use a USB‑C to USB‑C cable.
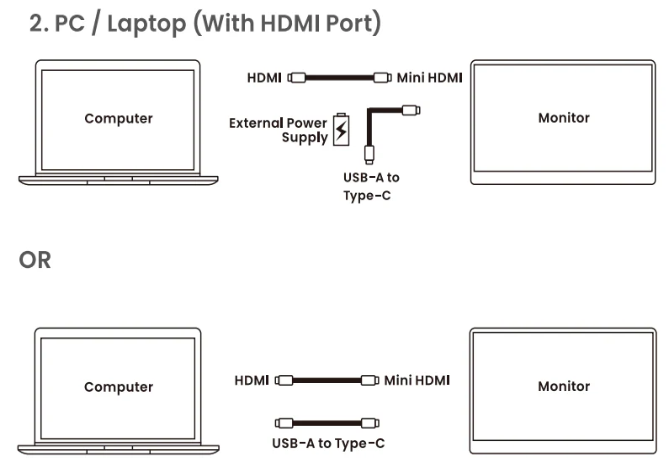
- If your laptop has HDMI or DP only, use a USB‑C to HDMI adapter (on the monitor side) or HDMI‑to‑USB‑C if supported. Make sure your adapter supports video output, not just charging.
- Old laptops with VGA only may not work unless you use a video‑enabled adapter.
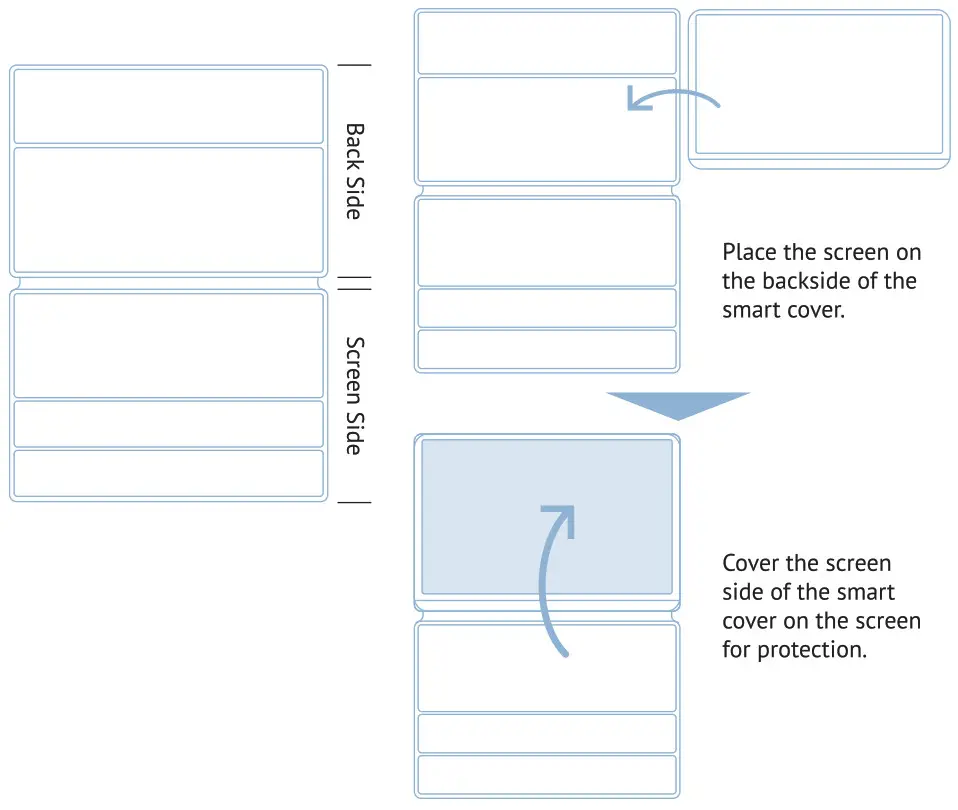
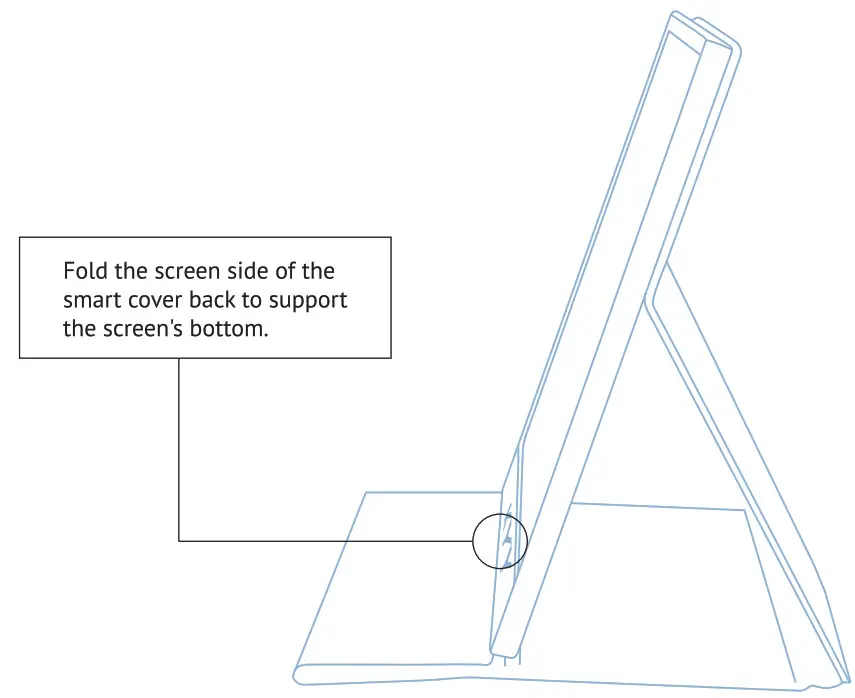
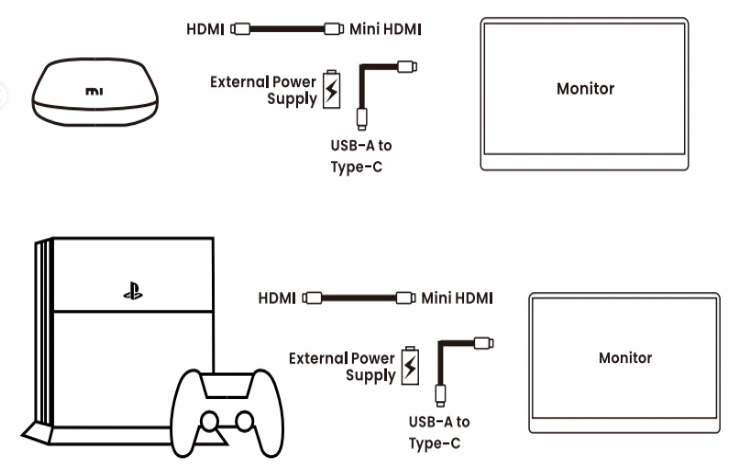
3. Connect and Power Up
- Turn off both devices.
- Use the appropriate cable/adapter to connect your laptop to the portable monitor. If model supports power delivery, one USB‑C cable handles video and power.
- Turn on the monitor and then your laptop. Windows should detect the display automatically.
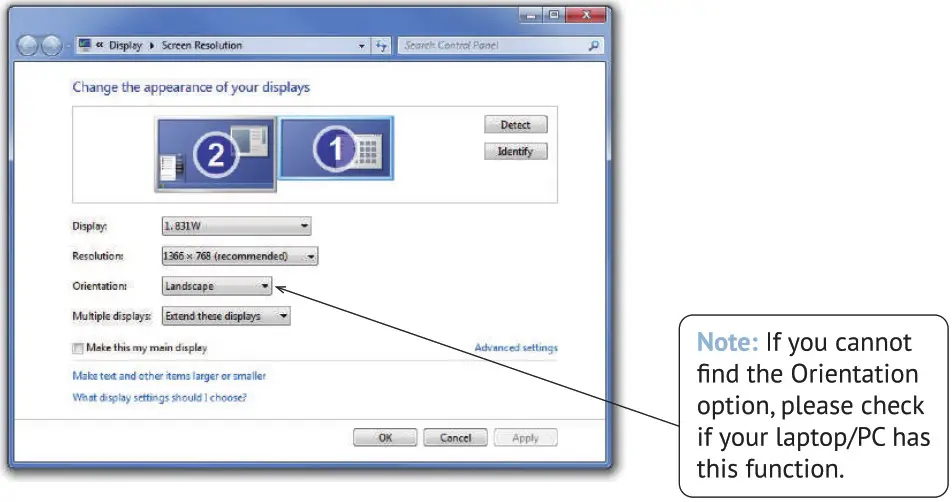
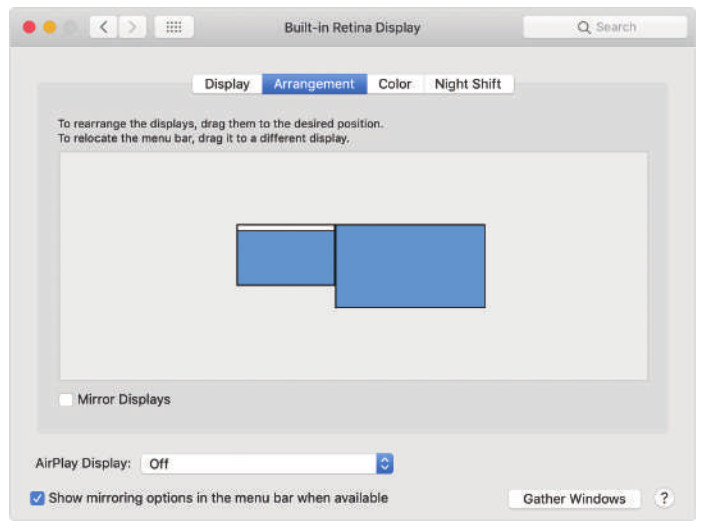
4. Configure Windows Display Settings
Once connected, go to Settings > System > Display:
- Choose Extend or Duplicate in Multiple displays.
- Arrange display order by dragging icons.
- Set resolution to recommended (usually 1920×1080 for P1424H).
- Shortcut Windows + P quickly switches modes.
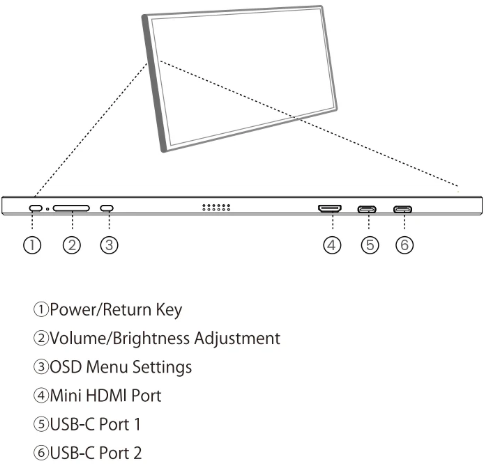
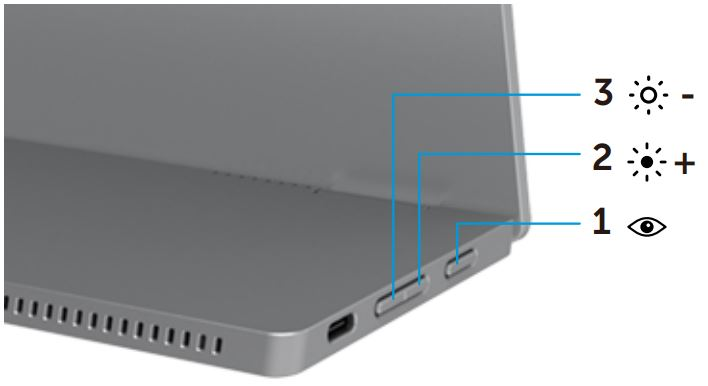
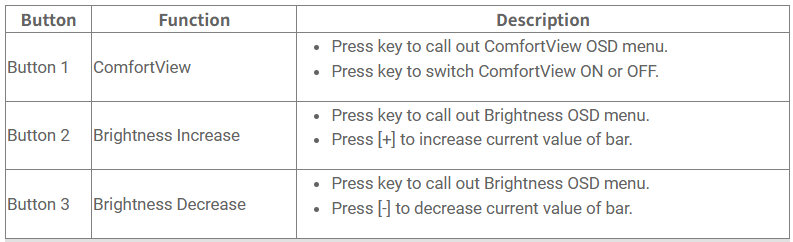
5. Adjust Monitor Controls (Brightness / OSD Buttons)
Dell portable models include basic On‑Screen Display (OSD) controls for brightness and ComfortView blue‑light reduction. Use the side buttons to raise or lower brightness or toggle ComfortView for eye comfort.
To access the on-screen display (OSD) menu, press Button 1 on the left of the monitor.
6. Troubleshooting “No Signal” or Blank Screen
- Ensure the USB‑C port supports video. Not all USB‑C ports do.
- Try another certified USB‑C cable. Use Dell-approved cables.
- Run Dell self‑test if screen stays dark with cable unplugged — you should see a floating dialog box if self‑test works Dell.
- Update graphics drivers from Dell’s Drivers & Downloads page or GPU maker website.